Setting up Braintrust in your AWS Account
This guide walks through the process of setting up Braintrust in your AWS account.
Before following these instructions, make sure you have account access, and are able to visit the app.
There are two methods you can follow:
- Use the
braintrustcommand-line (CLI) tool. This is the recommended method and requires just a single command. - Use the AWS console. If you need more control or cannot get AWS credentials for the CLI, this option allows you to run the whole process within the CLI.
Setting up the stack: CLI
Install the CLI
If you have not already, install the latest CLI:
pip install --upgrade 'braintrust[cli]'

# verify the installation worked
braintrust --help
Create the CloudFormation stack
There are just a few relevant parameters you should consider for most use cases:
- A stack name. This is arbitrary and allows you to refer back to the stack later. A name like "braintrust" or "braintrust-dev" should be fine.
--org-nameshould be the name of your organization (you can find this in your URL on the app, e.g.https://www.braintrustdata.com/app/<YOUR_ORG_NAME>/...). This will ensure that only users with access to your organization can invoke commands on your Braintrust endpoint.--provisioned-concurrencythe number of lambda workers to keep running in memory. This is useful if you expect to have a lot of concurrent users, or if you want to reduce the cold-start latency of your API calls. Each increment costs about $40/month in AWS costs. The default is 0.
braintrust install api --create <YOUR_STACK_NAME> \
  --org-name <YOUR_ORG_NAME> \
--provisioned-concurrency 1This command is idempotent. If it fails, simply re-run the command without the
--create flag, and it will resume tracking the progress of your
CloudFormation stack. If your stack enters a failed state, e.g. it fails to
create, please reach out to support.
Once the install completes, you'll see a log statement like
Stack with name braintrust has been updated with status: UPDATE_COMPLETE_CLEANUP_IN_PROGRESS
Endpoint URL: https://0o71finhla.execute-api.us-east-1.amazonaws.com/api/
Save the endpoint URL. You can now skip ahead to the Verifying the stack section.
Setting up the stack: CloudFormation console
Create the CloudFormation
The latest CloudFormation template for Braintrust in us-east-1 is always available at this URL:
https://braintrust-cf.s3.amazonaws.com/braintrust-latest.yamlThe current release in each region is:
https://braintrust-cf-us-east-1.s3.amazonaws.com/braintrust-574fa06ea35eb092699412921567c23c.yaml
https://braintrust-cf-us-west-2.s3.amazonaws.com/braintrust-574fa06ea35eb092699412921567c23c.yaml
To start, click this link which will open up the CloudFormation setup window. If you prefer, you can also “create stack” directly and use specify https://braintrust-cf.s3.amazonaws.com/braintrust-latest.yaml as the S3 template link.
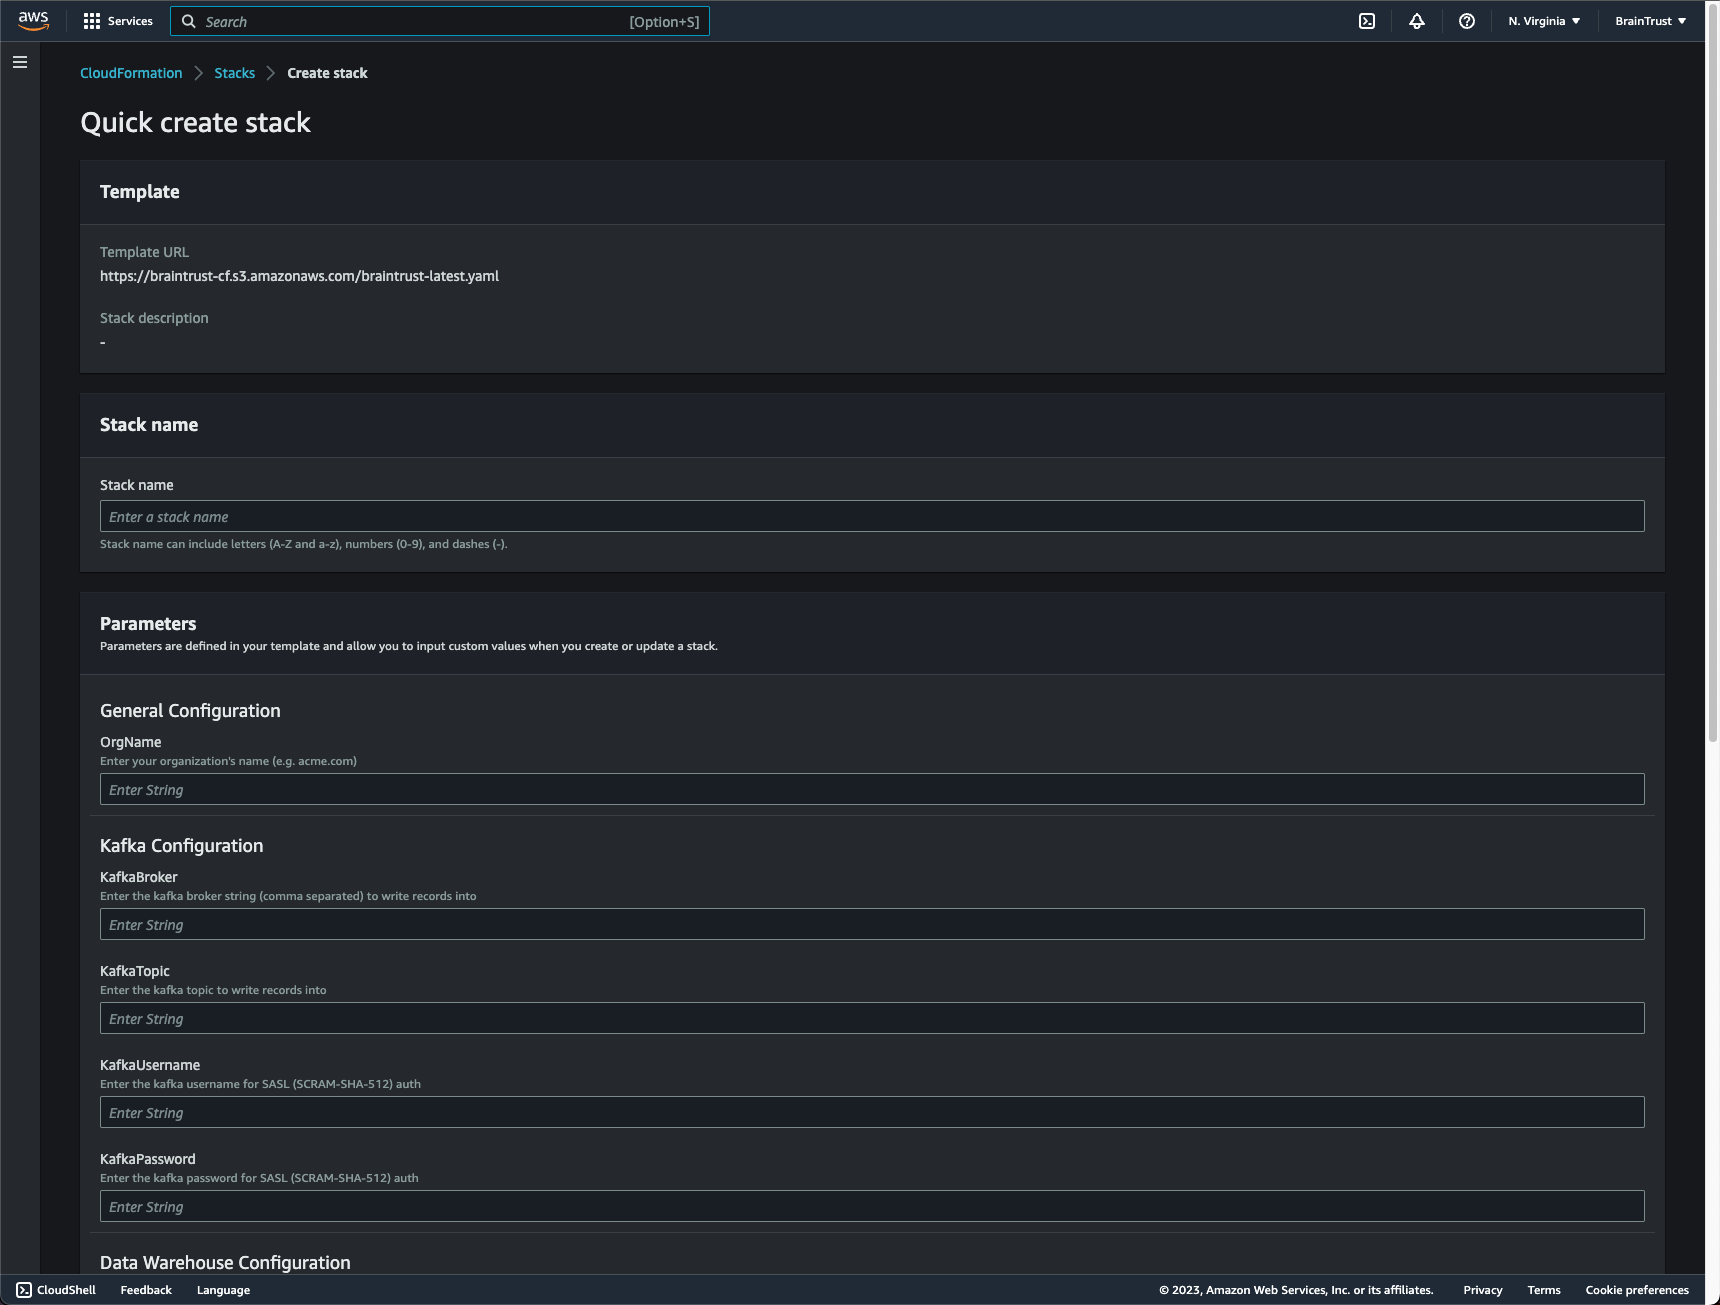
These instructions walk through how to setup through the AWS UI, but you are welcome to install it via the command line too if you prefer.
You do not need to set any parameters to create a stack; however, there are several you can set to configure behavior. The most important ones to consider while creating a stack are:
OrgName- The name of your organization. This will restrict access to users in your organization. By default it is set to*which means all users can query the endpoint. However, rest assured, only users in your org will be able to access its resources (due to access control checks).ProvisionedConcurrency- The number of lambda workers to keep running in memory. This is useful to set if you want to minimize the cold-start latency of your API calls. Each increment costs about $40/month in AWS costs. The default is 0.
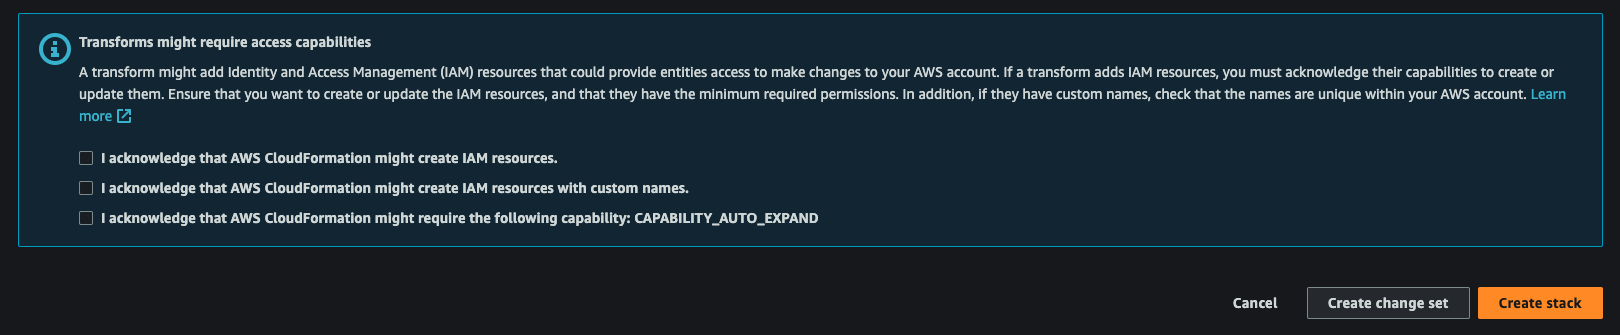
Once you fill in the parameters, accept the acknowledgments and click “Create stack” to start creating the template. This can take a few minutes (up to ~10) to provision the first time.
Behind the scenes, the template sets up a few key resources:
- A VPC with public & private subnets for networking
- A lambda function which contains the logic for executing Braintrust commands
- An API gateway that runs commands against the lambda function
Getting the Endpoint URL
Once the stack is provisioned, you should see UPDATE_COMPLETE as its status:
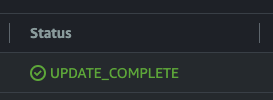
Click into the stack, navigate to the “Outputs tab”, and copy the value for EndpointURL. We’ll use this to test your endpoint and configure Braintrust to access your org through it. For the rest of the doc, we’ll refer to it as <YOUR_ENDPOINT_URL>.

Verifying the stack
Run the following command to test that the stack is running. The first time you run it, AWS may do some setup work to provision your lambda function, and it can take up to 30 seconds to run.
curl -X GET '<YOUR_ENDPOINT_URL>'You should see an error like {"message":"Unauthorized"}. That's expected!
Configure your organization's endpoint
Visit your organization's settings page at http://www.braintrustdata.com/app/settings. You should see an entry for the API URL. Paste <YOUR_ENDPOINT_URL> from above here and click “Save”. If you refresh the page, you should see the new value set by default.

Testing the endpoint
Click the “Test settings” button, which will take you to a new page that runs an API command from your browser to ensure that everything is setup correctly. It also includes a command that you can copy and run in your terminal. If everything worked correctly, the page should look like:

If you experience any errors, please reach out to support@braintrustdata.com to diagnose further.
Test the application end-to-end
Hooray! At this point you should be able to test the full application. The easiest way to do this is by using the Python SDK.
This simple Python script will run a full loop of using Braintrust and setting up an experiment.
import braintrust

# NOTE:
# * You can specify your API key in the `api_key` parameter, or set it as an environment variable
#   `BRAINTRUST_API_KEY`. If you don't specify it, the SDK will look for the environment variable.
# * You should not specify api_url in the SDK. It will automatically use the value you set in the
#   settings page.
experiment = braintrust.init(project="SetupTest", org_name="my_org.com", api_key="sk-****")
experiment.log(
    inputs={"test": 1},
    output="foo",
    expected="bar",
    scores={
        "n": 0.5,
    },
    metadata={
        "id": 1,
    },
)
print(experiment.summarize())
Maintaining your installation
Most new Braintrust releases do not require stack updates. Occasionally, however, you will need to update the stack to get access to new features and performance enhancements. Like installation, you can update the stack through either the CLI or AWS console.
Using the Braintrust CLI
To update your stack, simply run (replacing <YOUR_STACK_NAME>):
braintrust install api <YOUR_STACK_NAME> --update-templateYou can also use this command to change parameters, with or without template updates. For example, if you
want to allocate provisioned concurrency 8 to your lambda functions, run
braintrust install api <YOUR_STACK_NAME> --provisioned-concurrency 8Using the AWS interface
You can also update the stack directly through AWS. Their docs walk through how to update through the console
and the aws cli.
The rest of the guide covers topics only needed for advanced configurations.
Advanced configuration
The rest of this guide covers advanced topics, only needed if you plan to run Braintrust against an existing queue or warehouse system. In most cases, you do not need to configure any of these options.
Configure network access (VPC)
To permit incoming and outgoing traffic between Braintrust's lambda functions and external cloud resources, you can either run everything in the same VPC or setup VPC peering. This is necessary if you want to access resources like a Kafka cluster or a database that are not publicly accessible.
VPC Peering
When you create your Braintrust CloudFormation, it automatically creates a VPC with the same name as your CloudFormation.
You can access the Braintrust VPC's name and ID from the CloudFormation's Outputs tab (named pubPrivateVPCID).

AWS has a comprehensive guide for configuring peering. Follow the instructions for
- Create a VPC peering connection
- Accept a VPC peering connection
- View your VPC peering connections
- Update your route tables for a VPC peering connection
- Make sure to update the route tables in both VPCs.
- Update your security groups to reference peer security groups. We recommend allowing “All Traffic” from Braintrust’s VPC.
Troubleshooting
- If you continue to see errors after updating the VPC peering group, you may need to update your CloudFormation template (which will effectively reboot your Lambda functions). You can do this by triggering an update on the CloudFormation and letting it run. You may need to change a stack parameter and then change it back to trigger the updates.
- You can manually test network settings by booting up an EC2 machine in the Braintrust VPC to test connectivity. Make sure to assign a public IP to the instance and use the public subnet of the VPC while initializing.